Getting Started
Learn how to set up and start using the Ecomplify Dashboard to manage your online store.
Accessing the Dashboard
- Visit app.ecomplify.com
- Sign up for an account or log in with your credentials
- You'll be taken to your dashboard home page
The Welcome Tour
The first time you land in the dashboard with a store selected, a short guided tour starts automatically. It takes about 30 seconds and highlights each area of the screen in turn:
- The sidebar menu scrolls — the tour actually scrolls the menu for you so you can see it move. There are more items in the sidebar than fit on one screen, especially on laptops, so don't stop at what you first see — Marketing, Settings and more sit further down.
- Products — where to add your first product.
- Orders — where new orders, payments, shipping and refunds are managed.
- The shop switcher — the store name and domain in the header; click it to switch between your shops.
- Search — Ctrl+K — press Ctrl+K (or ⌘K on Mac) anywhere to search settings and pages instead of hunting through menus.
- Your account menu — profile, sessions, shop switching and logout.
A few things to know about the tour:
- It runs once per account. After you finish or skip it, it won't appear again — even if you sign in from a different browser or device.
- You can leave at any time by clicking Skip tour or pressing Escape. Skipping counts as done.
- You can replay it whenever you like — open the account menu (top right) and choose Replay dashboard tour.
- It never interrupts store creation — it only starts on regular dashboard pages.
Choosing Your Language
The dashboard is available in 73 languages. To switch:
- Click the language button (globe icon) in the top header bar.
- Type in the search box to find your language — you can search in English or in the language's own name.
- Click a language to apply it immediately.
The language picker is also available on the login and signup pages, so you can switch before you even sign in.
Dashboard Layout
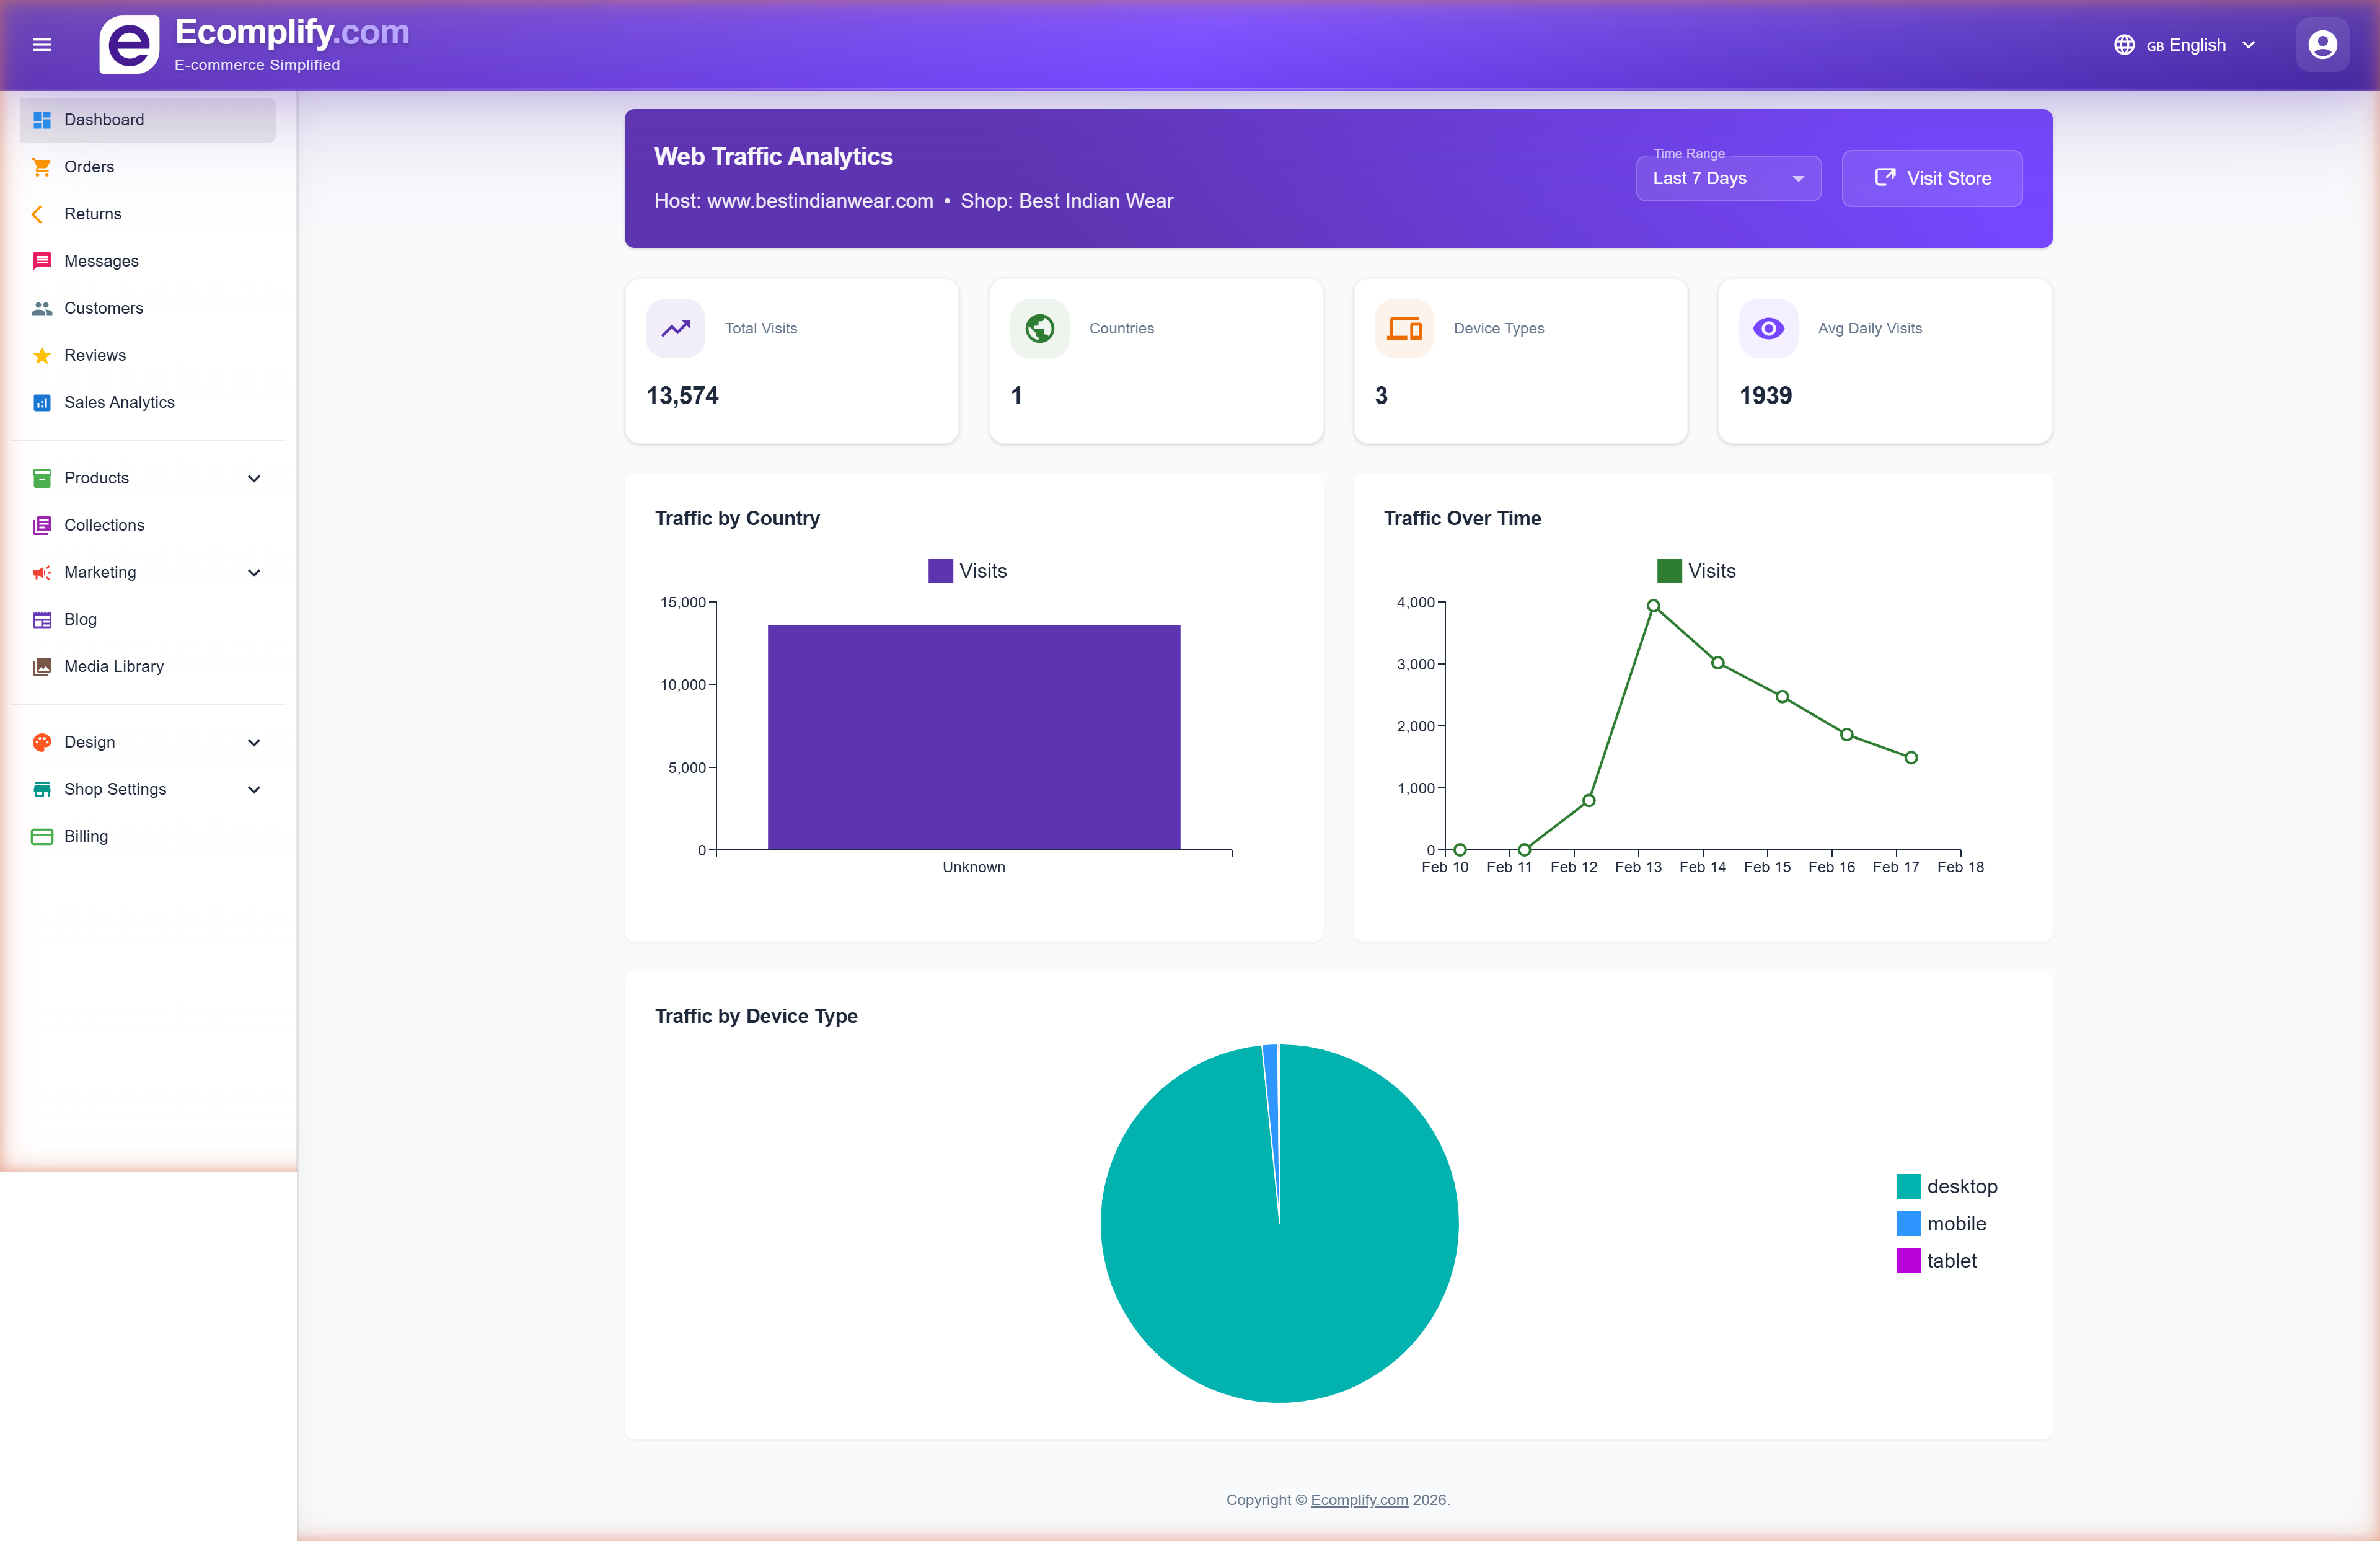
The dashboard has a clean, intuitive layout with three main areas:
Sidebar Navigation
The left sidebar provides access to all sections:
- Dashboard - Web traffic analytics and overview
- Orders - Order management and fulfillment
- Returns - Process customer returns
- Messages - Customer communications
- Customers - Customer directory
- Reviews - Review moderation
- Sales Analytics - Revenue and sales reports
- Products - Product catalog (List, Create, Bulk Upload)
- Collections - Product collections
- Marketing - Discounts and offers
- Blog - Blog content management
- Media Library - Image and file management
- Design - Theme and appearance settings
- Shop Settings - Store configuration
- Billing - Plan and subscription management
Header Bar
The top bar includes:
- Store indicator - Shows your active store name and domain; click to switch shops
- Search - Press Ctrl+K (⌘K on Mac) to search settings and pages
- Language selector - Switch the dashboard language (73 available)
- User profile - Account settings, replay the welcome tour, and logout
First Steps
1. Configure Your Store
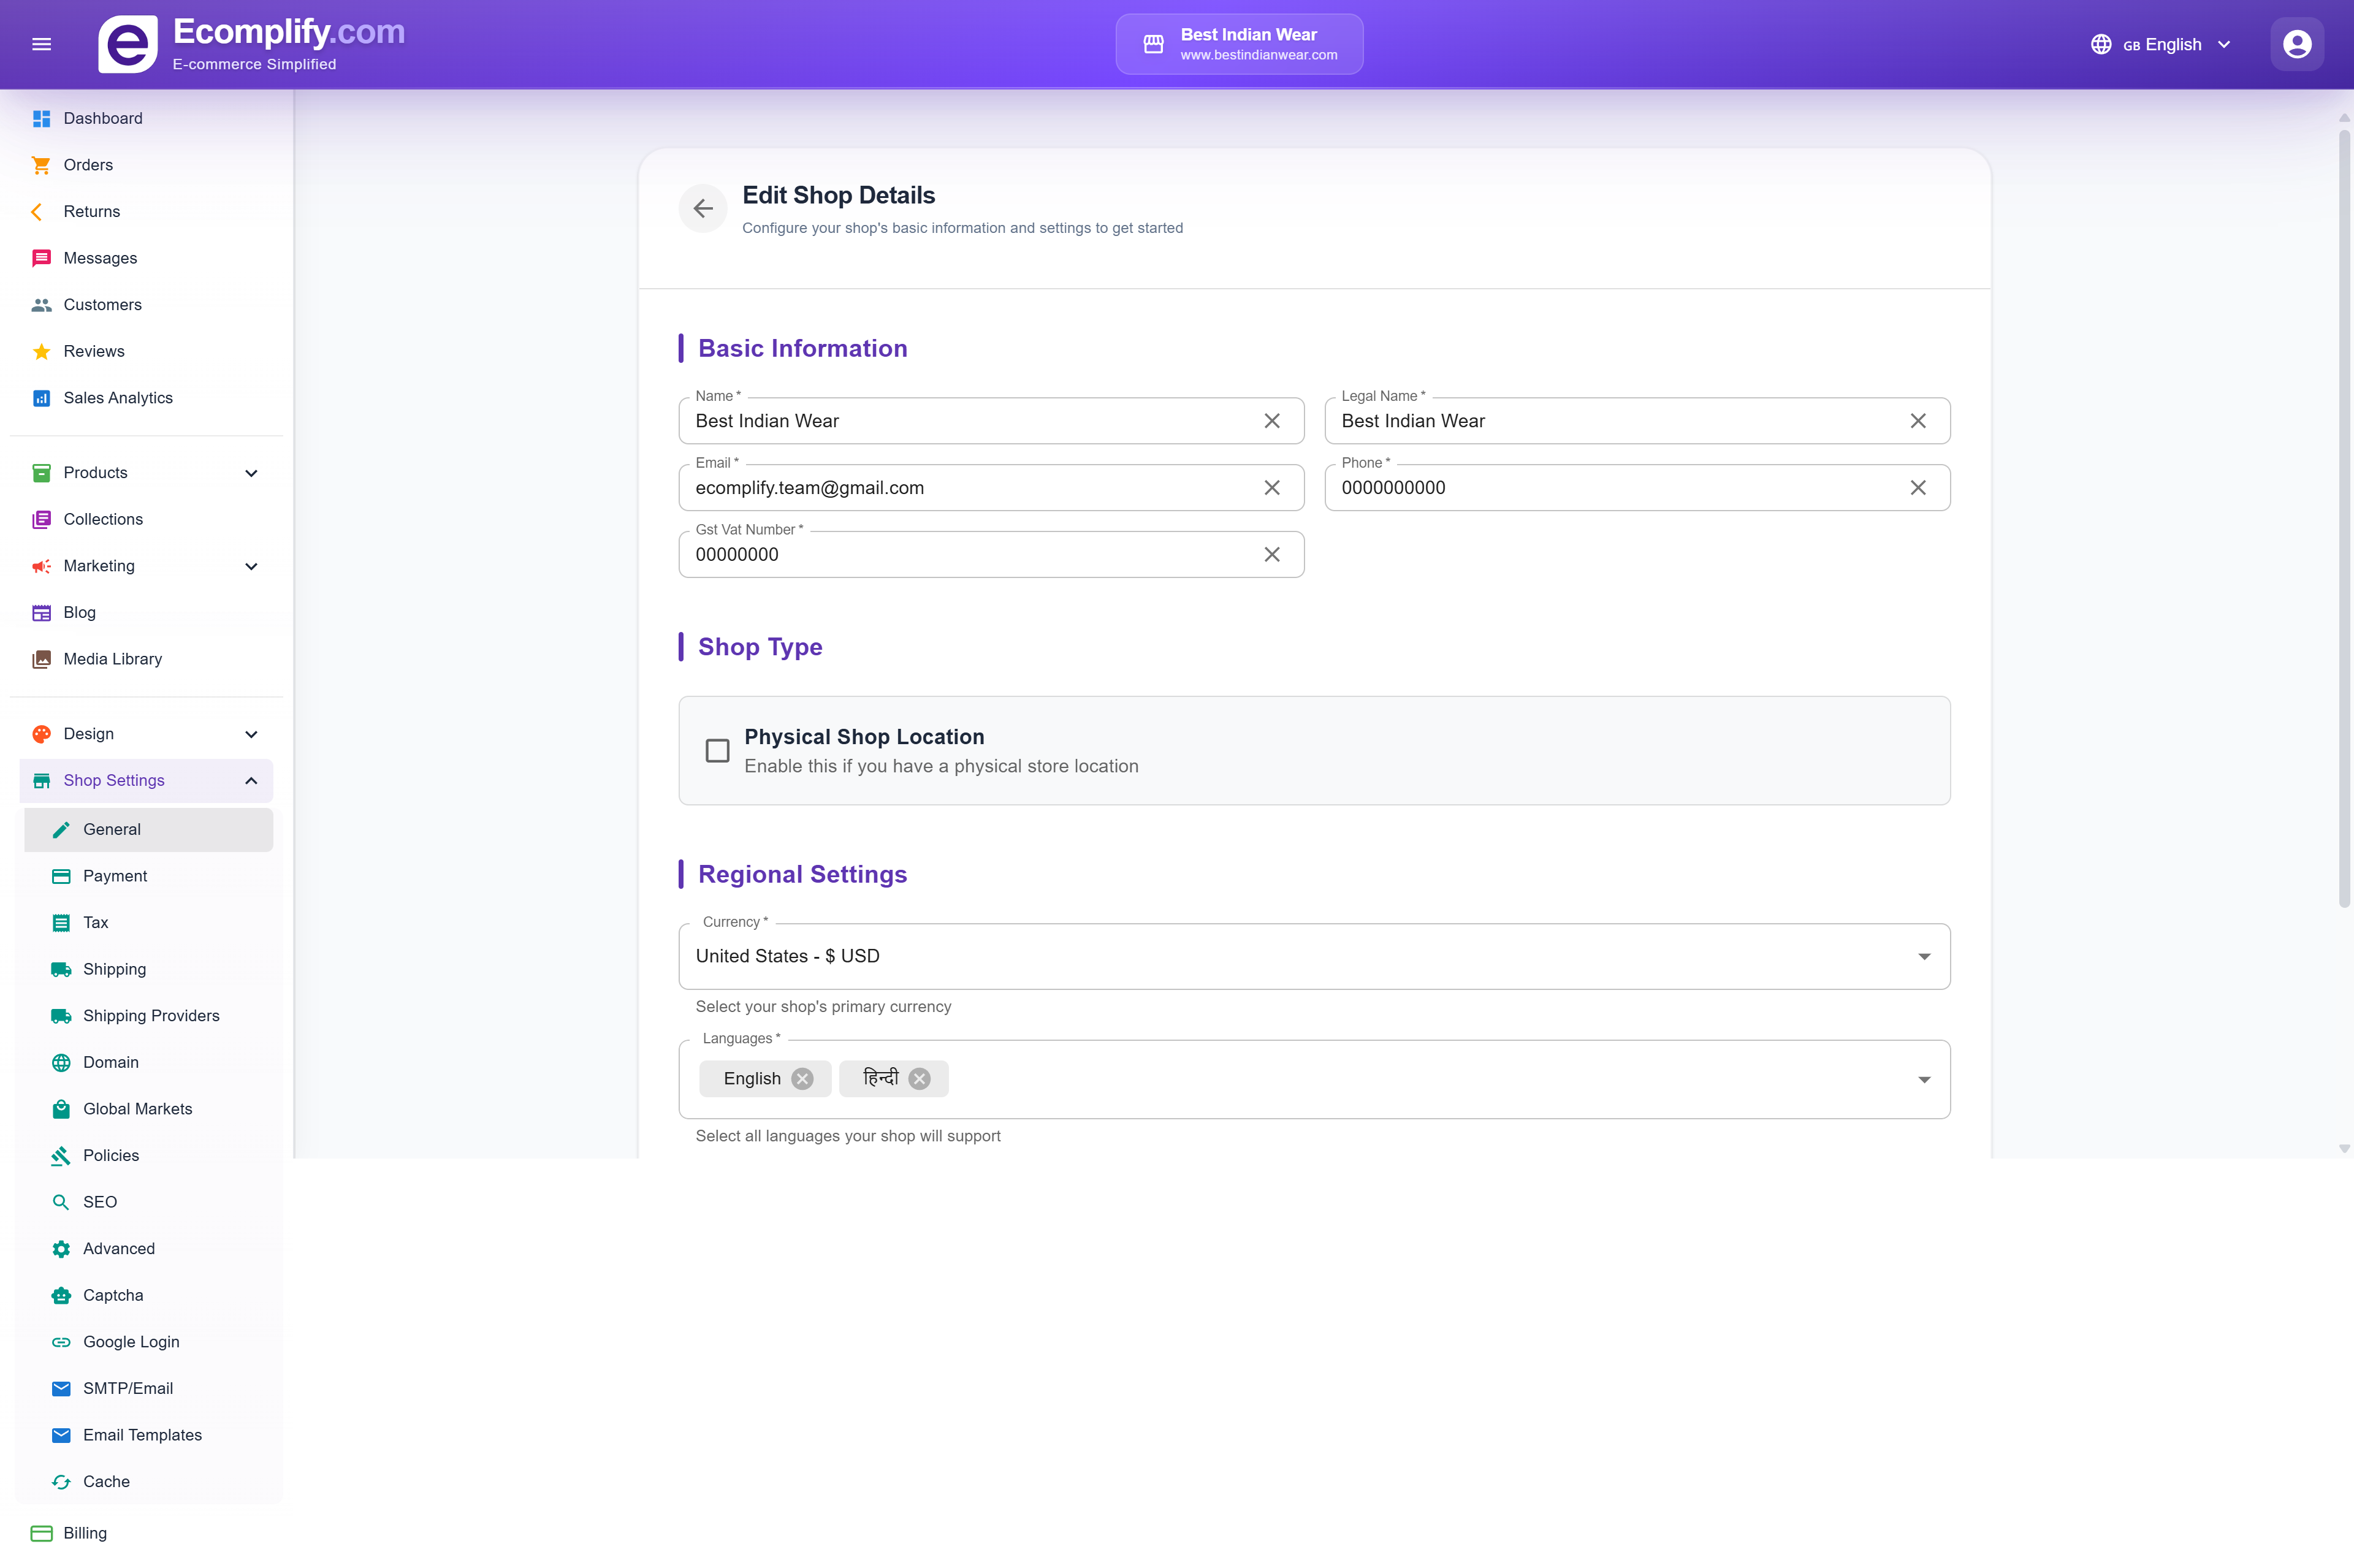
Navigate to Shop Settings > General to set up your store basics:
- Store name and legal name
- Contact email and phone
- GST/VAT number
- Shop type (physical/online)
- Currency and supported languages
2. Set Up Payments
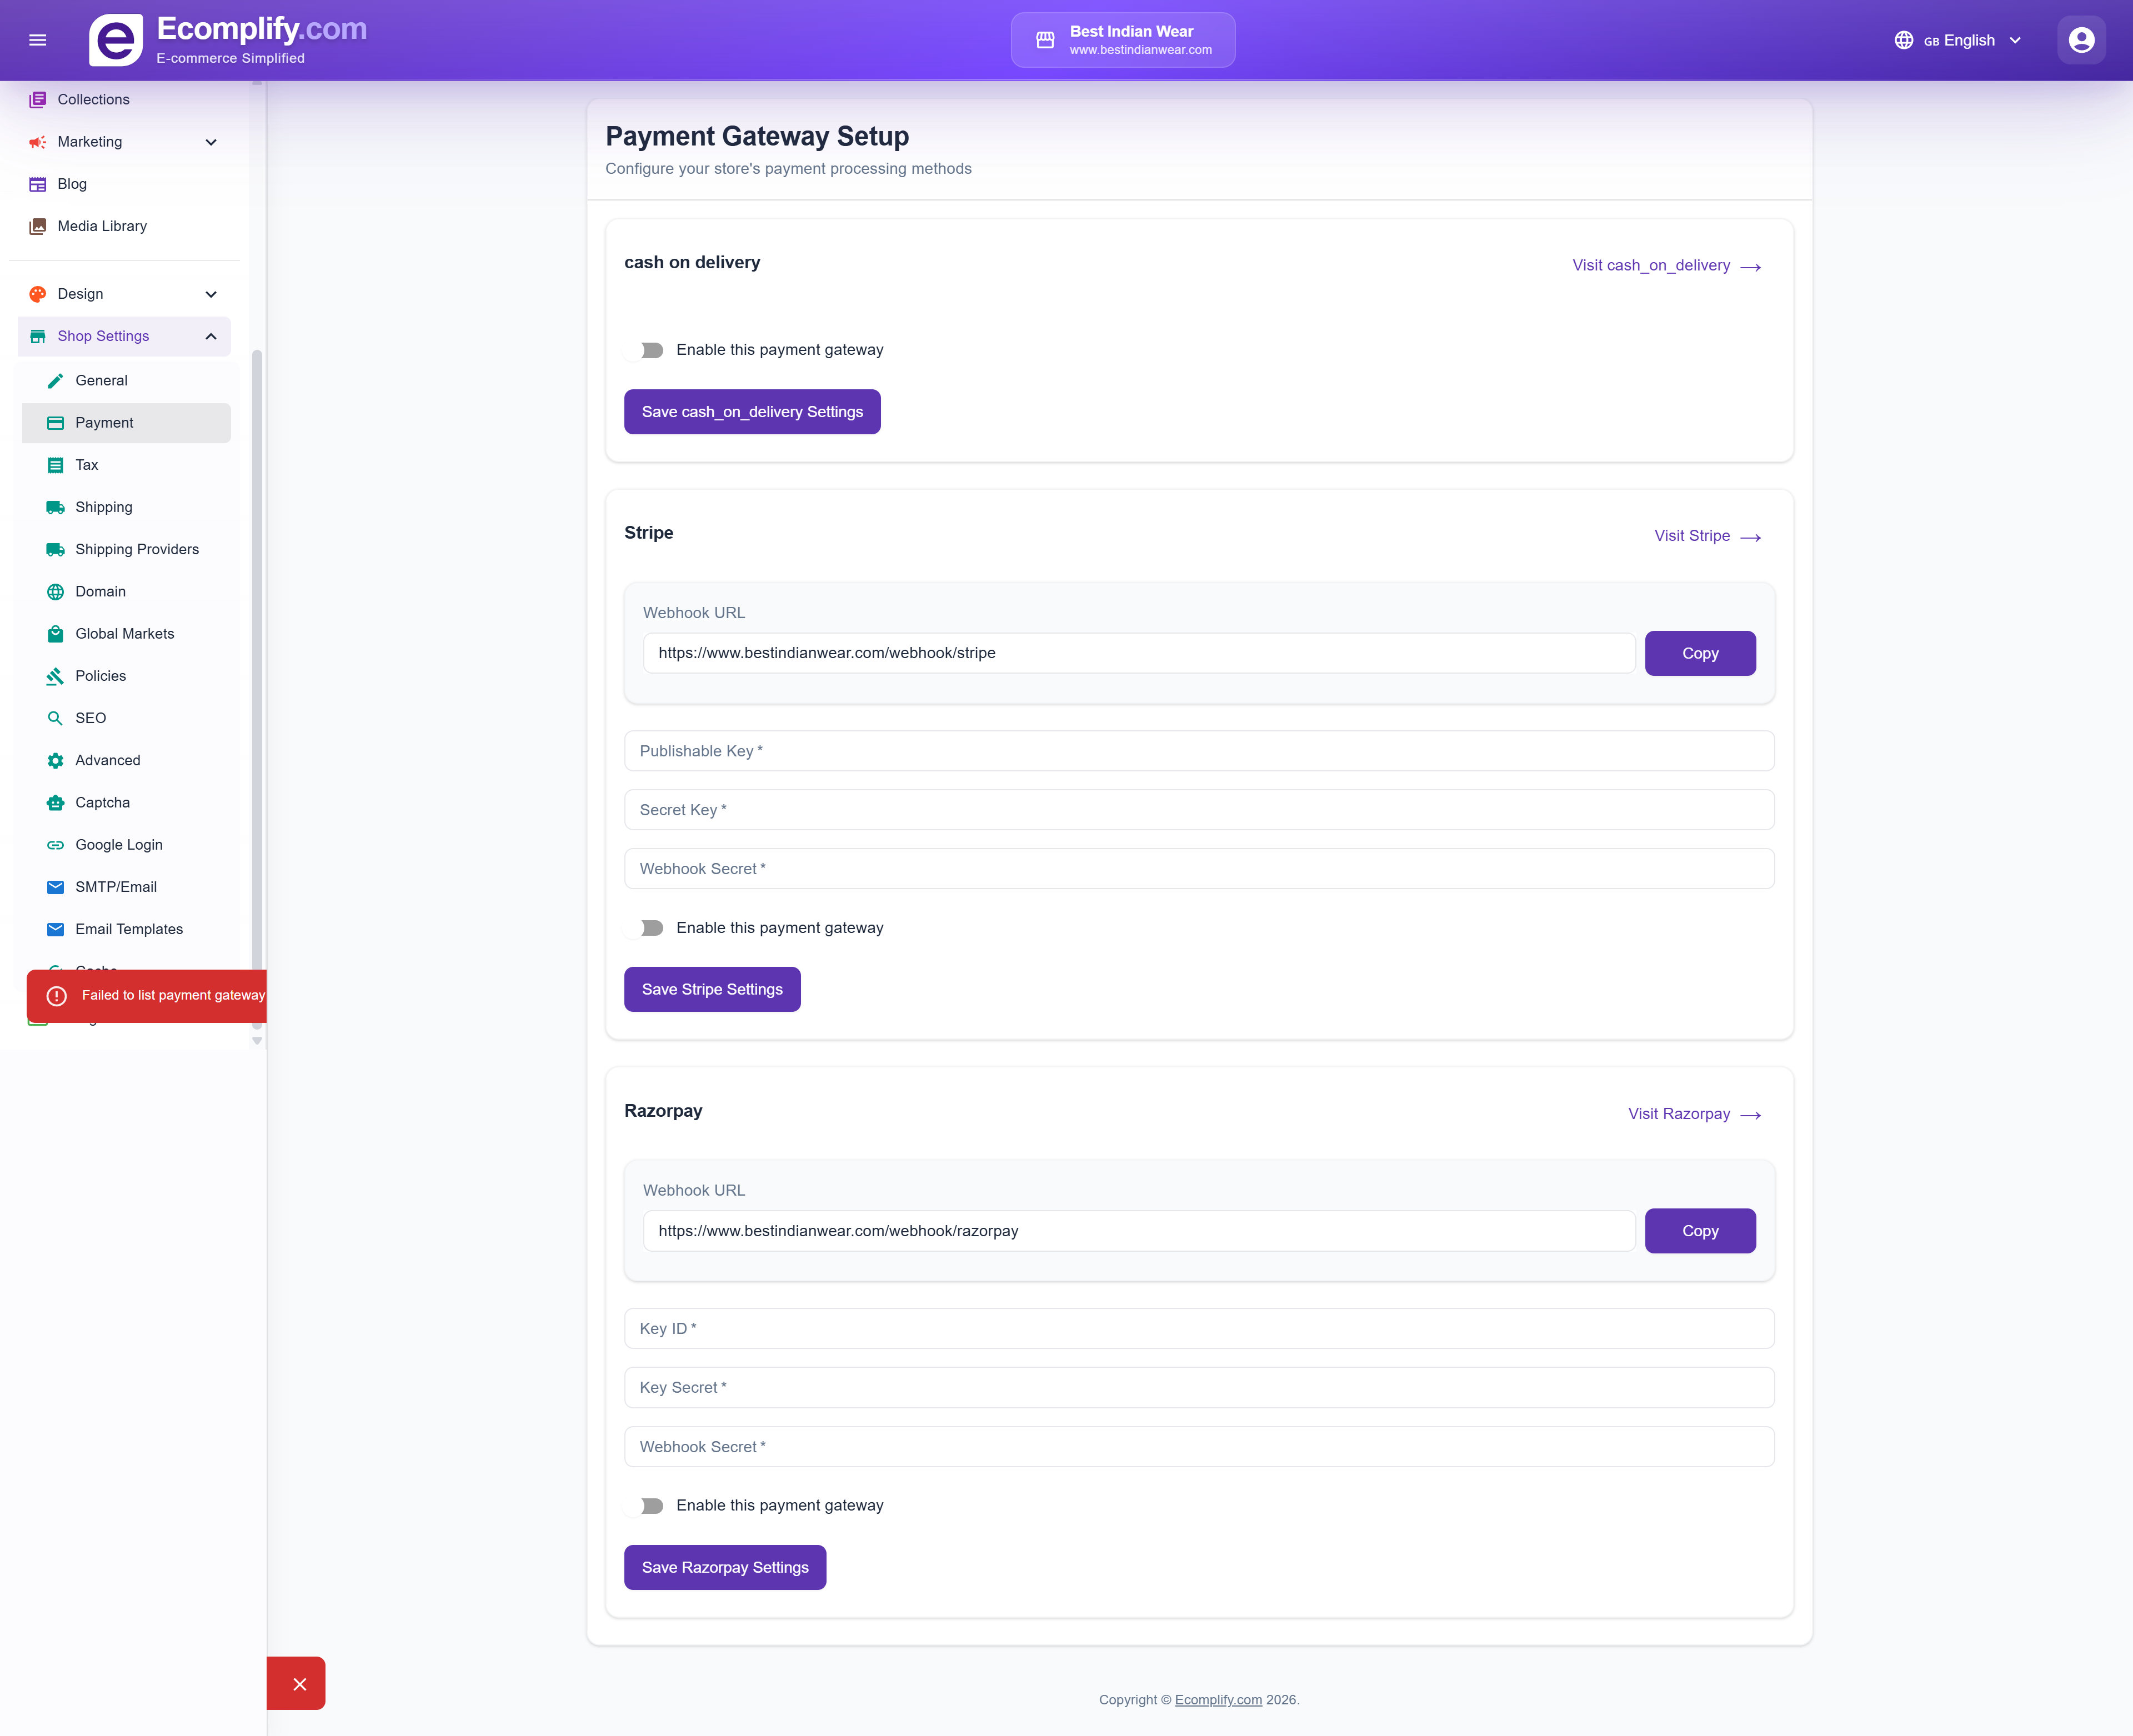
Go to Shop Settings > Payment to configure payment gateways:
- Cash on Delivery - Enable COD for your region
- Stripe - Enter your Stripe API keys for card payments
- Razorpay - Configure Razorpay for Indian payments
3. Configure Shipping
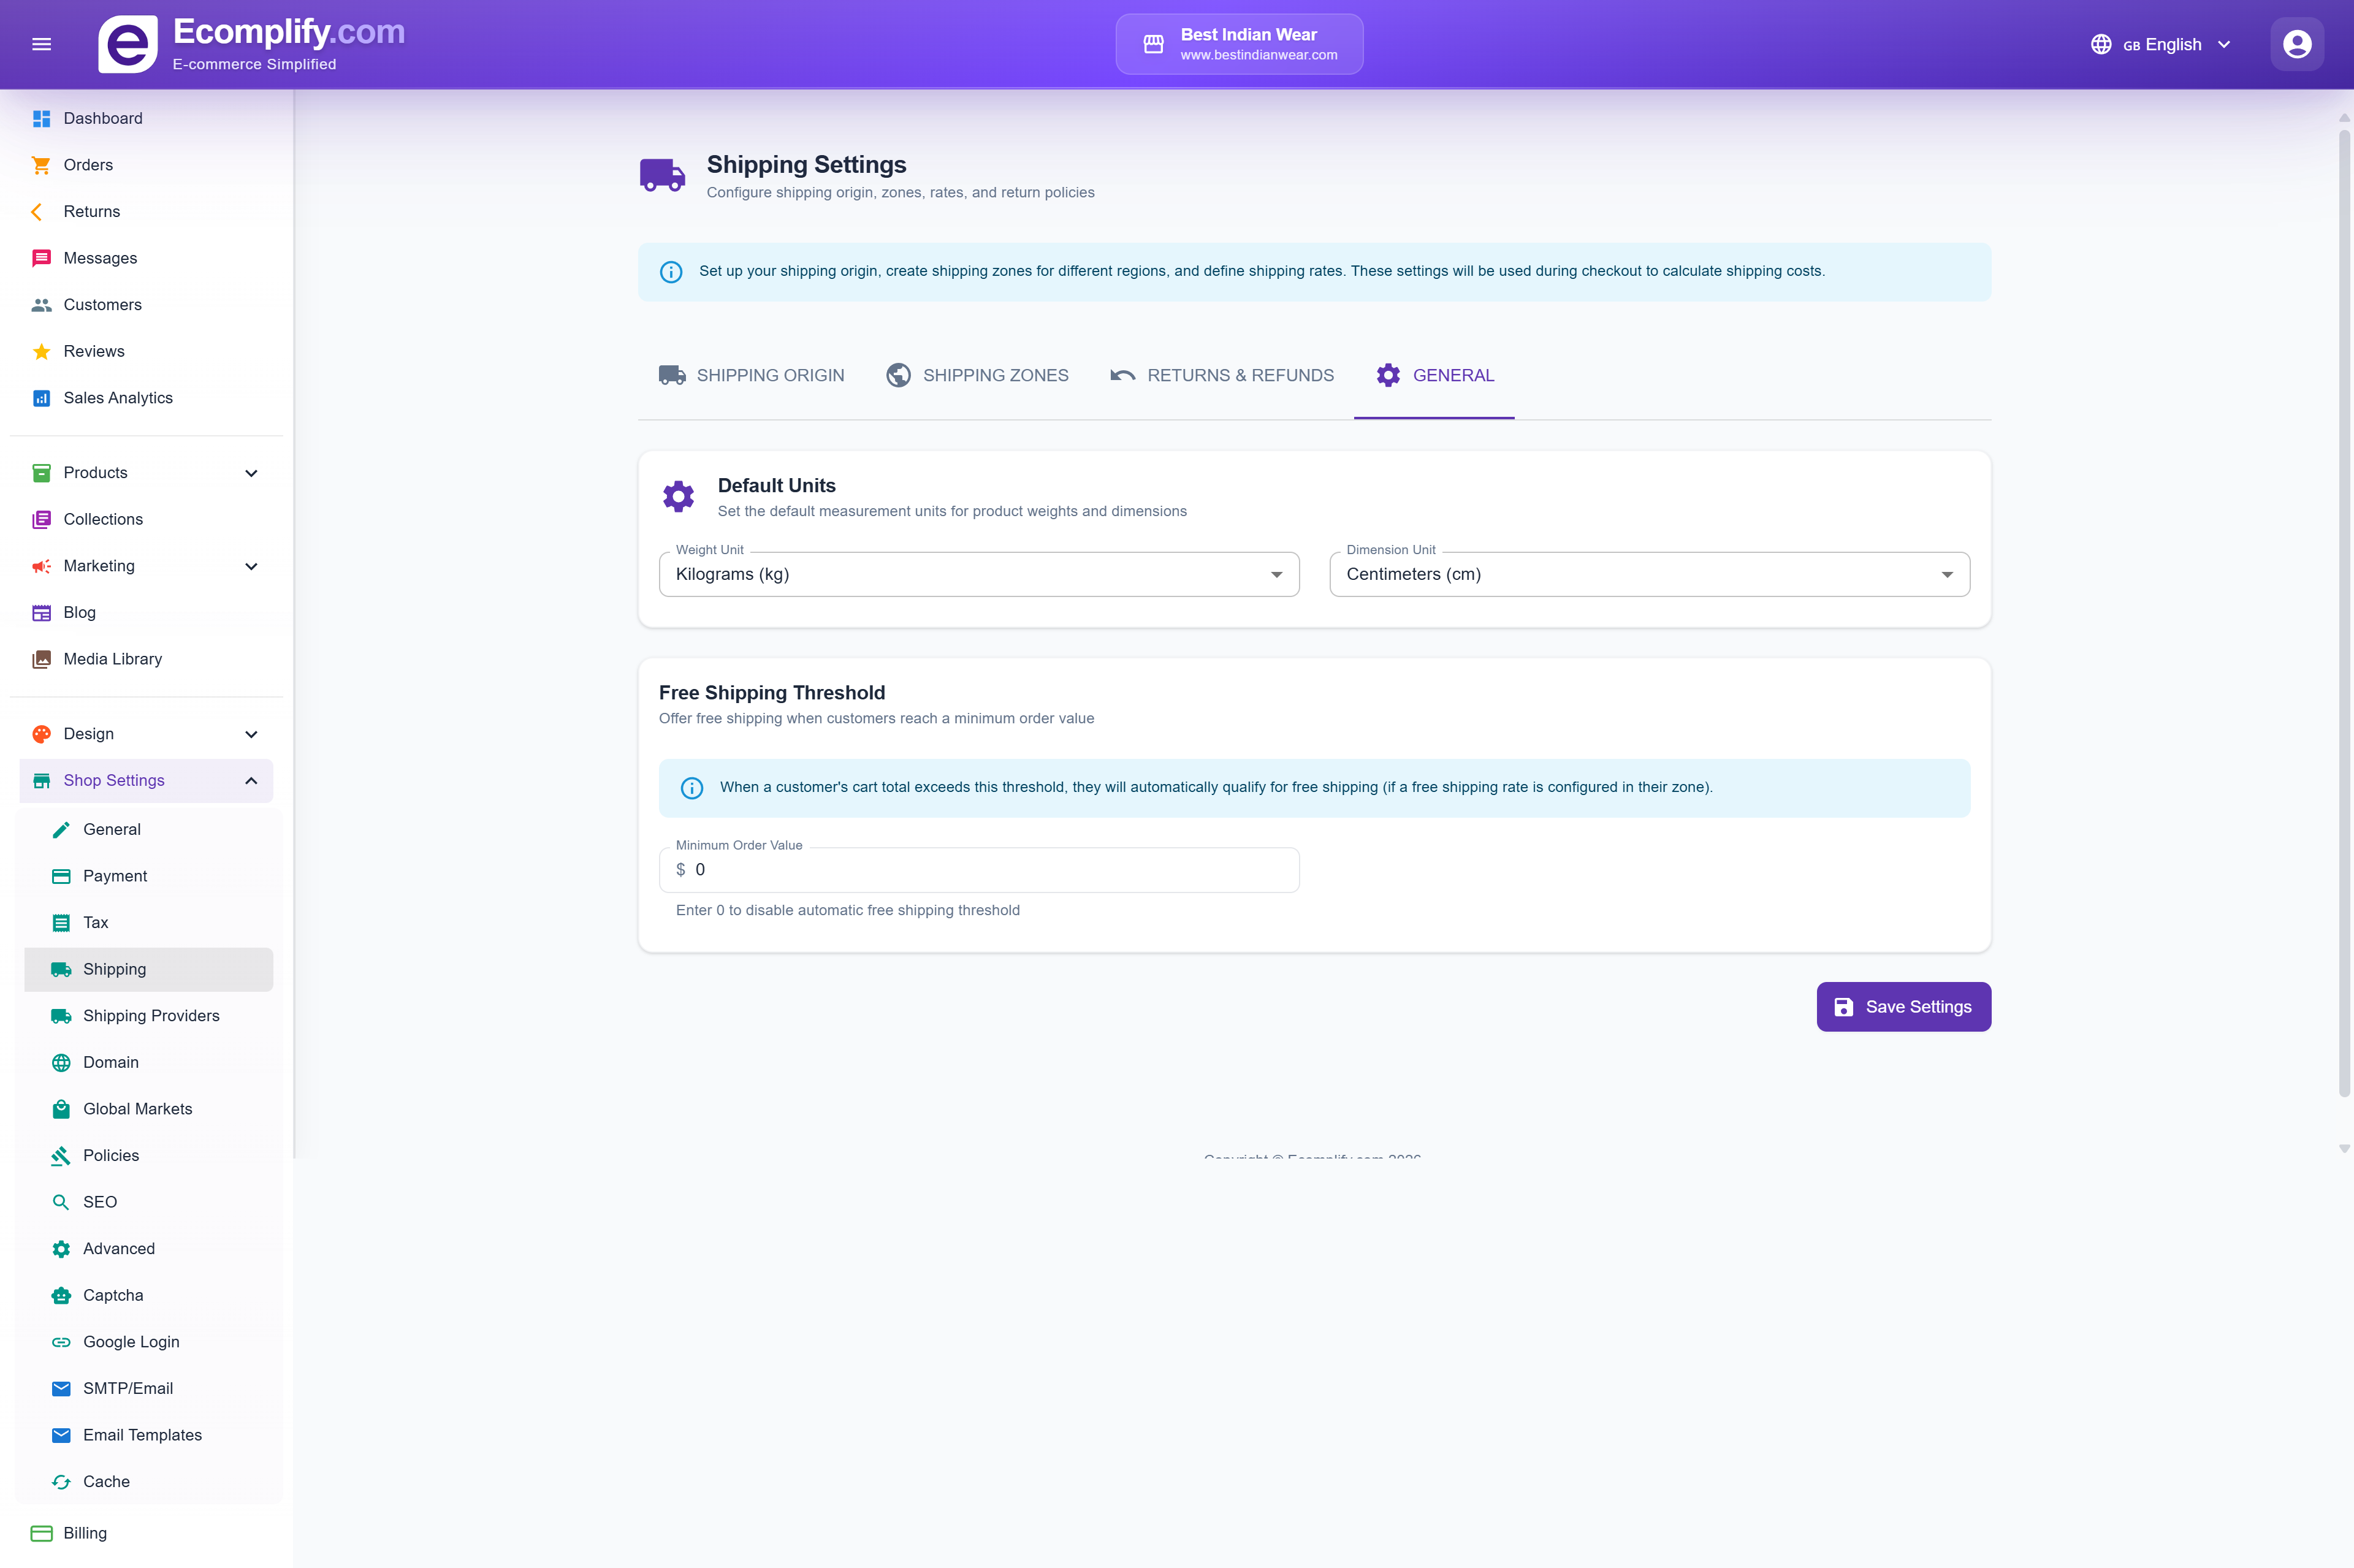
Set up shipping in Shop Settings > Shipping:
- Set your shipping origin (warehouse address)
- Create shipping zones for different regions
- Define shipping rates
- Configure return and refund policies
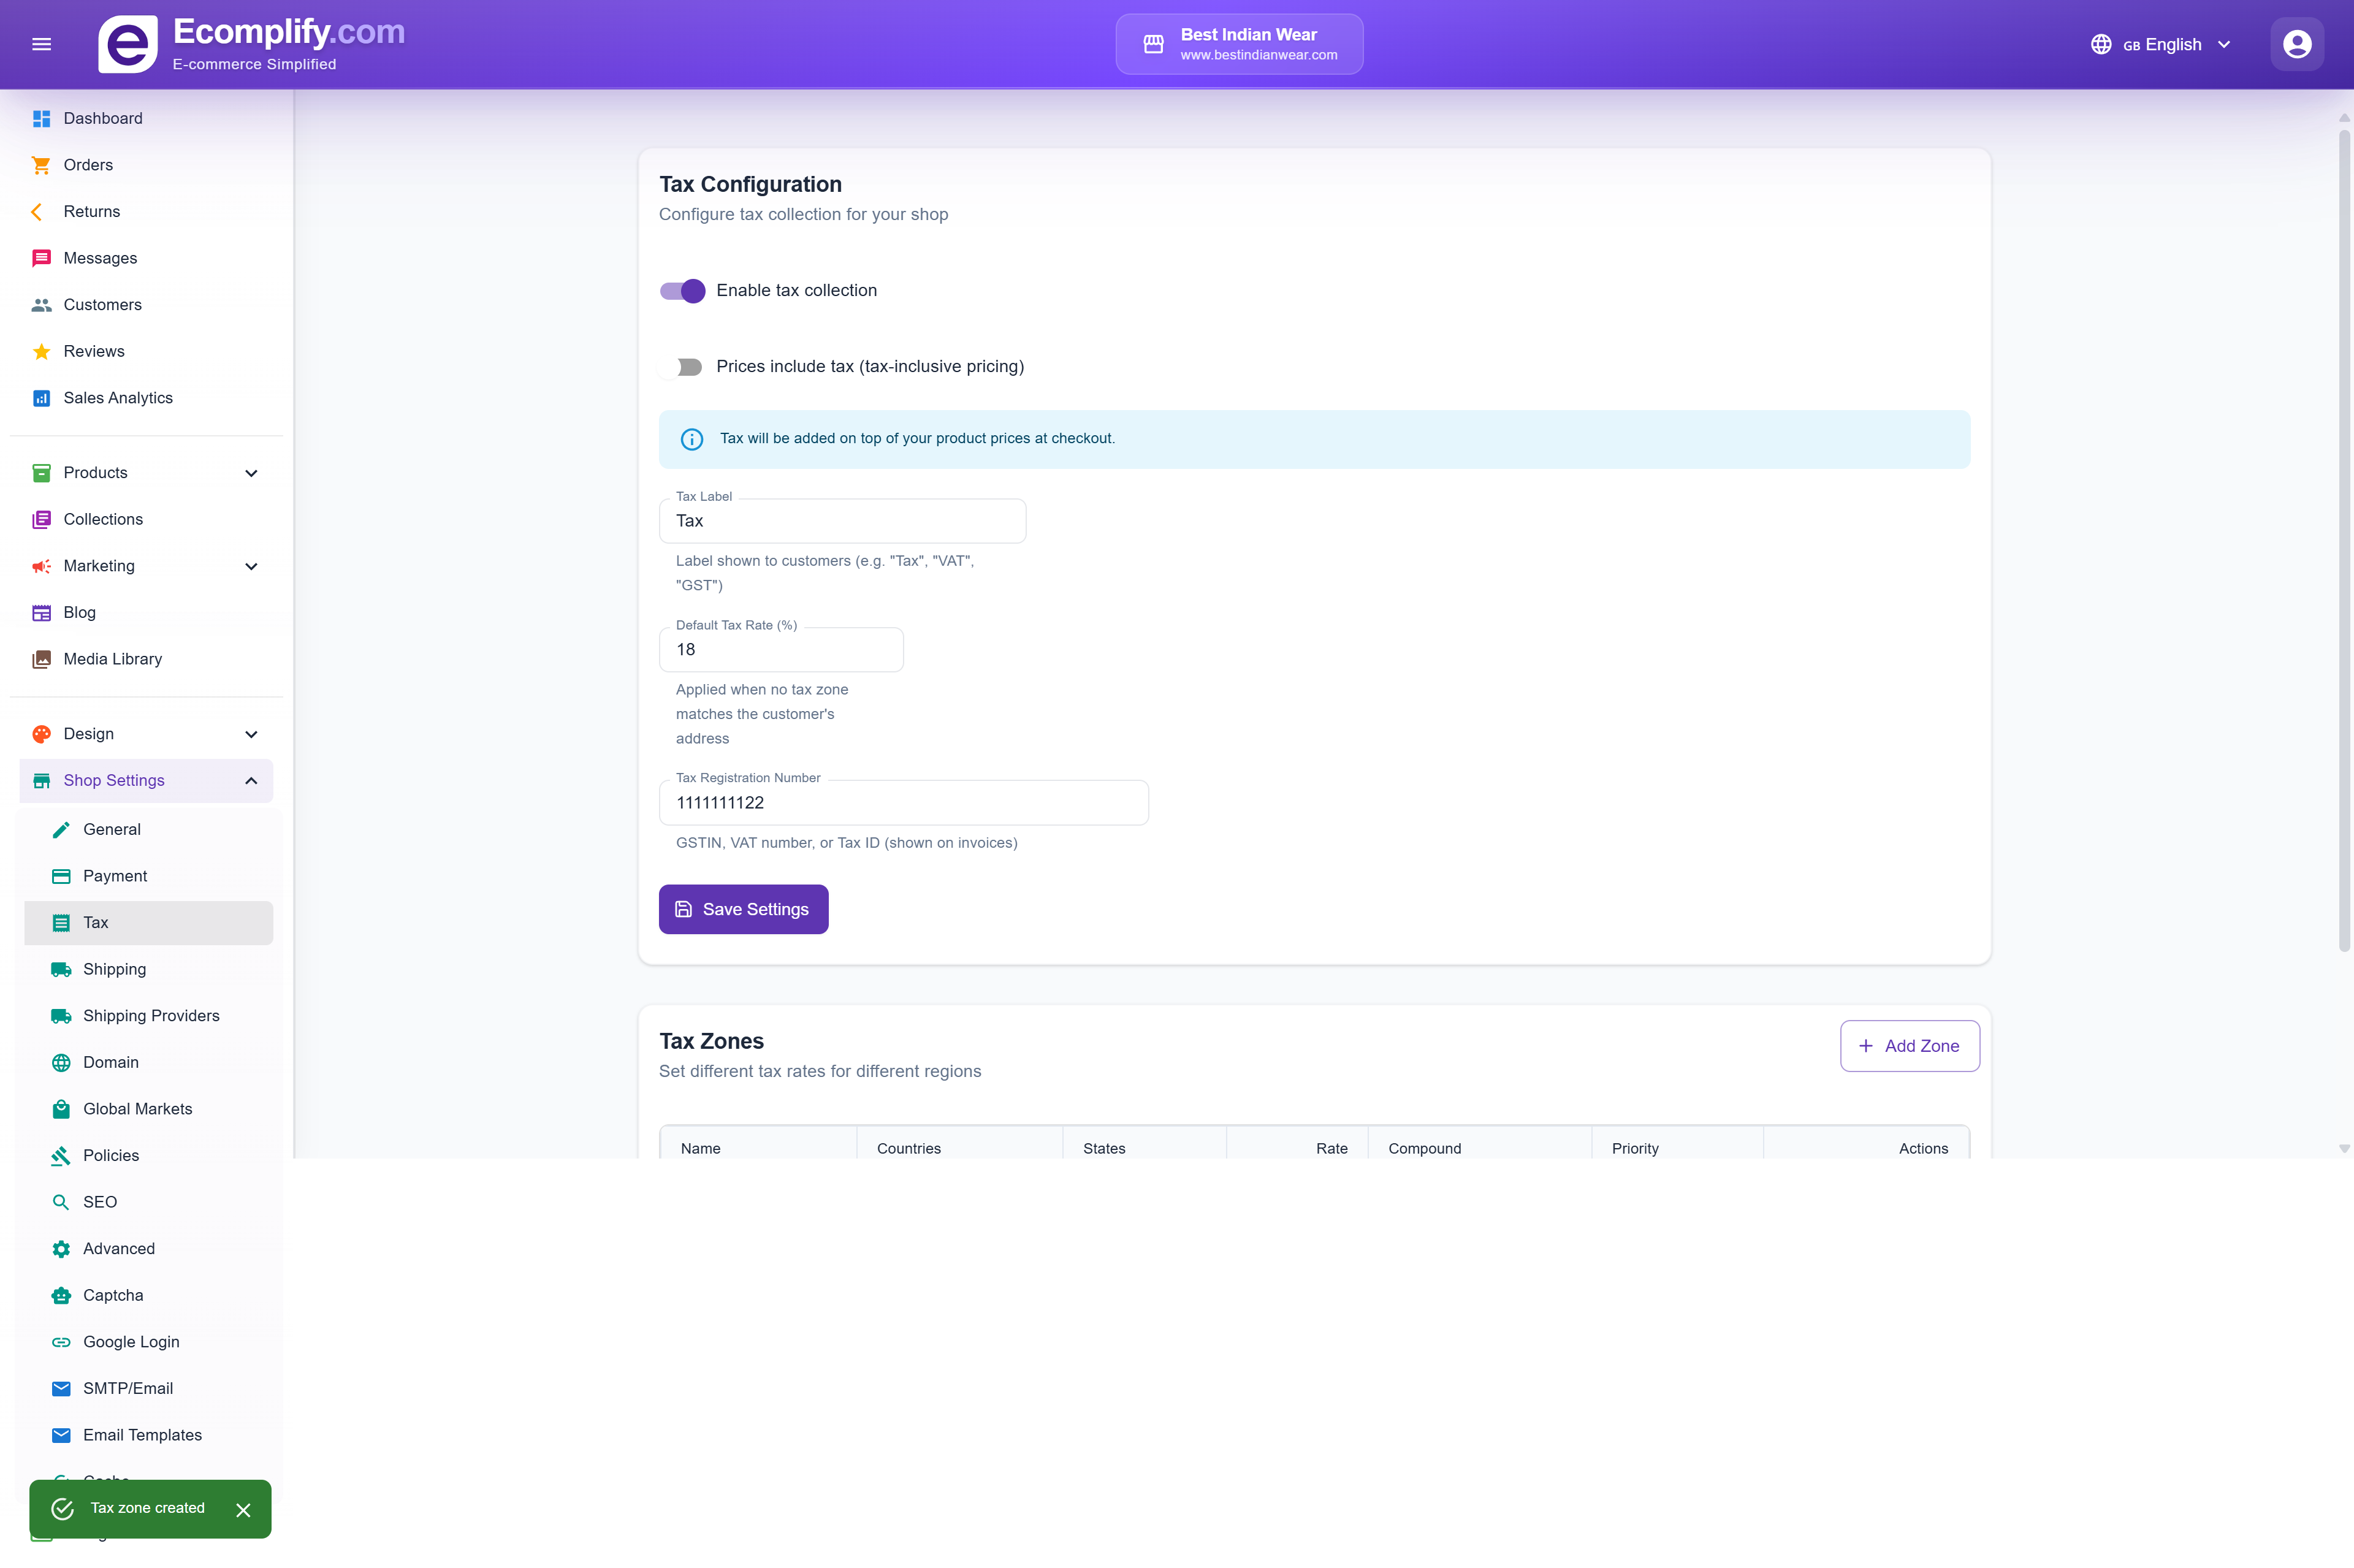
4. Configure Taxes
Navigate to Shop Settings > Tax to set up tax rules:
- Enable tax collection
- Set default tax rate
- Create tax zones for different regions with custom rates
- Choose tax-inclusive or tax-exclusive pricing
5. Add Your First Product
Go to Products > Create and fill in:
- Product name and description (rich text editor)
- Media gallery (images)
- Pricing and inventory
- Product options/variants
- Shipping details (weight, dimensions)
- SEO metadata
See the Products guide for detailed instructions.
6. Customize Your Store Design
Visit the Design section to personalize your storefront:
- Choose a theme template
- Set your logo and favicon
- Configure announcement banners
- Customize header menu and footer
See the Design & Themes guide for details.
Next Steps
Now that your store is set up, explore the detailed guides for each feature: