Blog
Create and manage blog content to drive traffic and engage customers.
Blog Post List
The Blog page shows all your blog posts along with their current status.
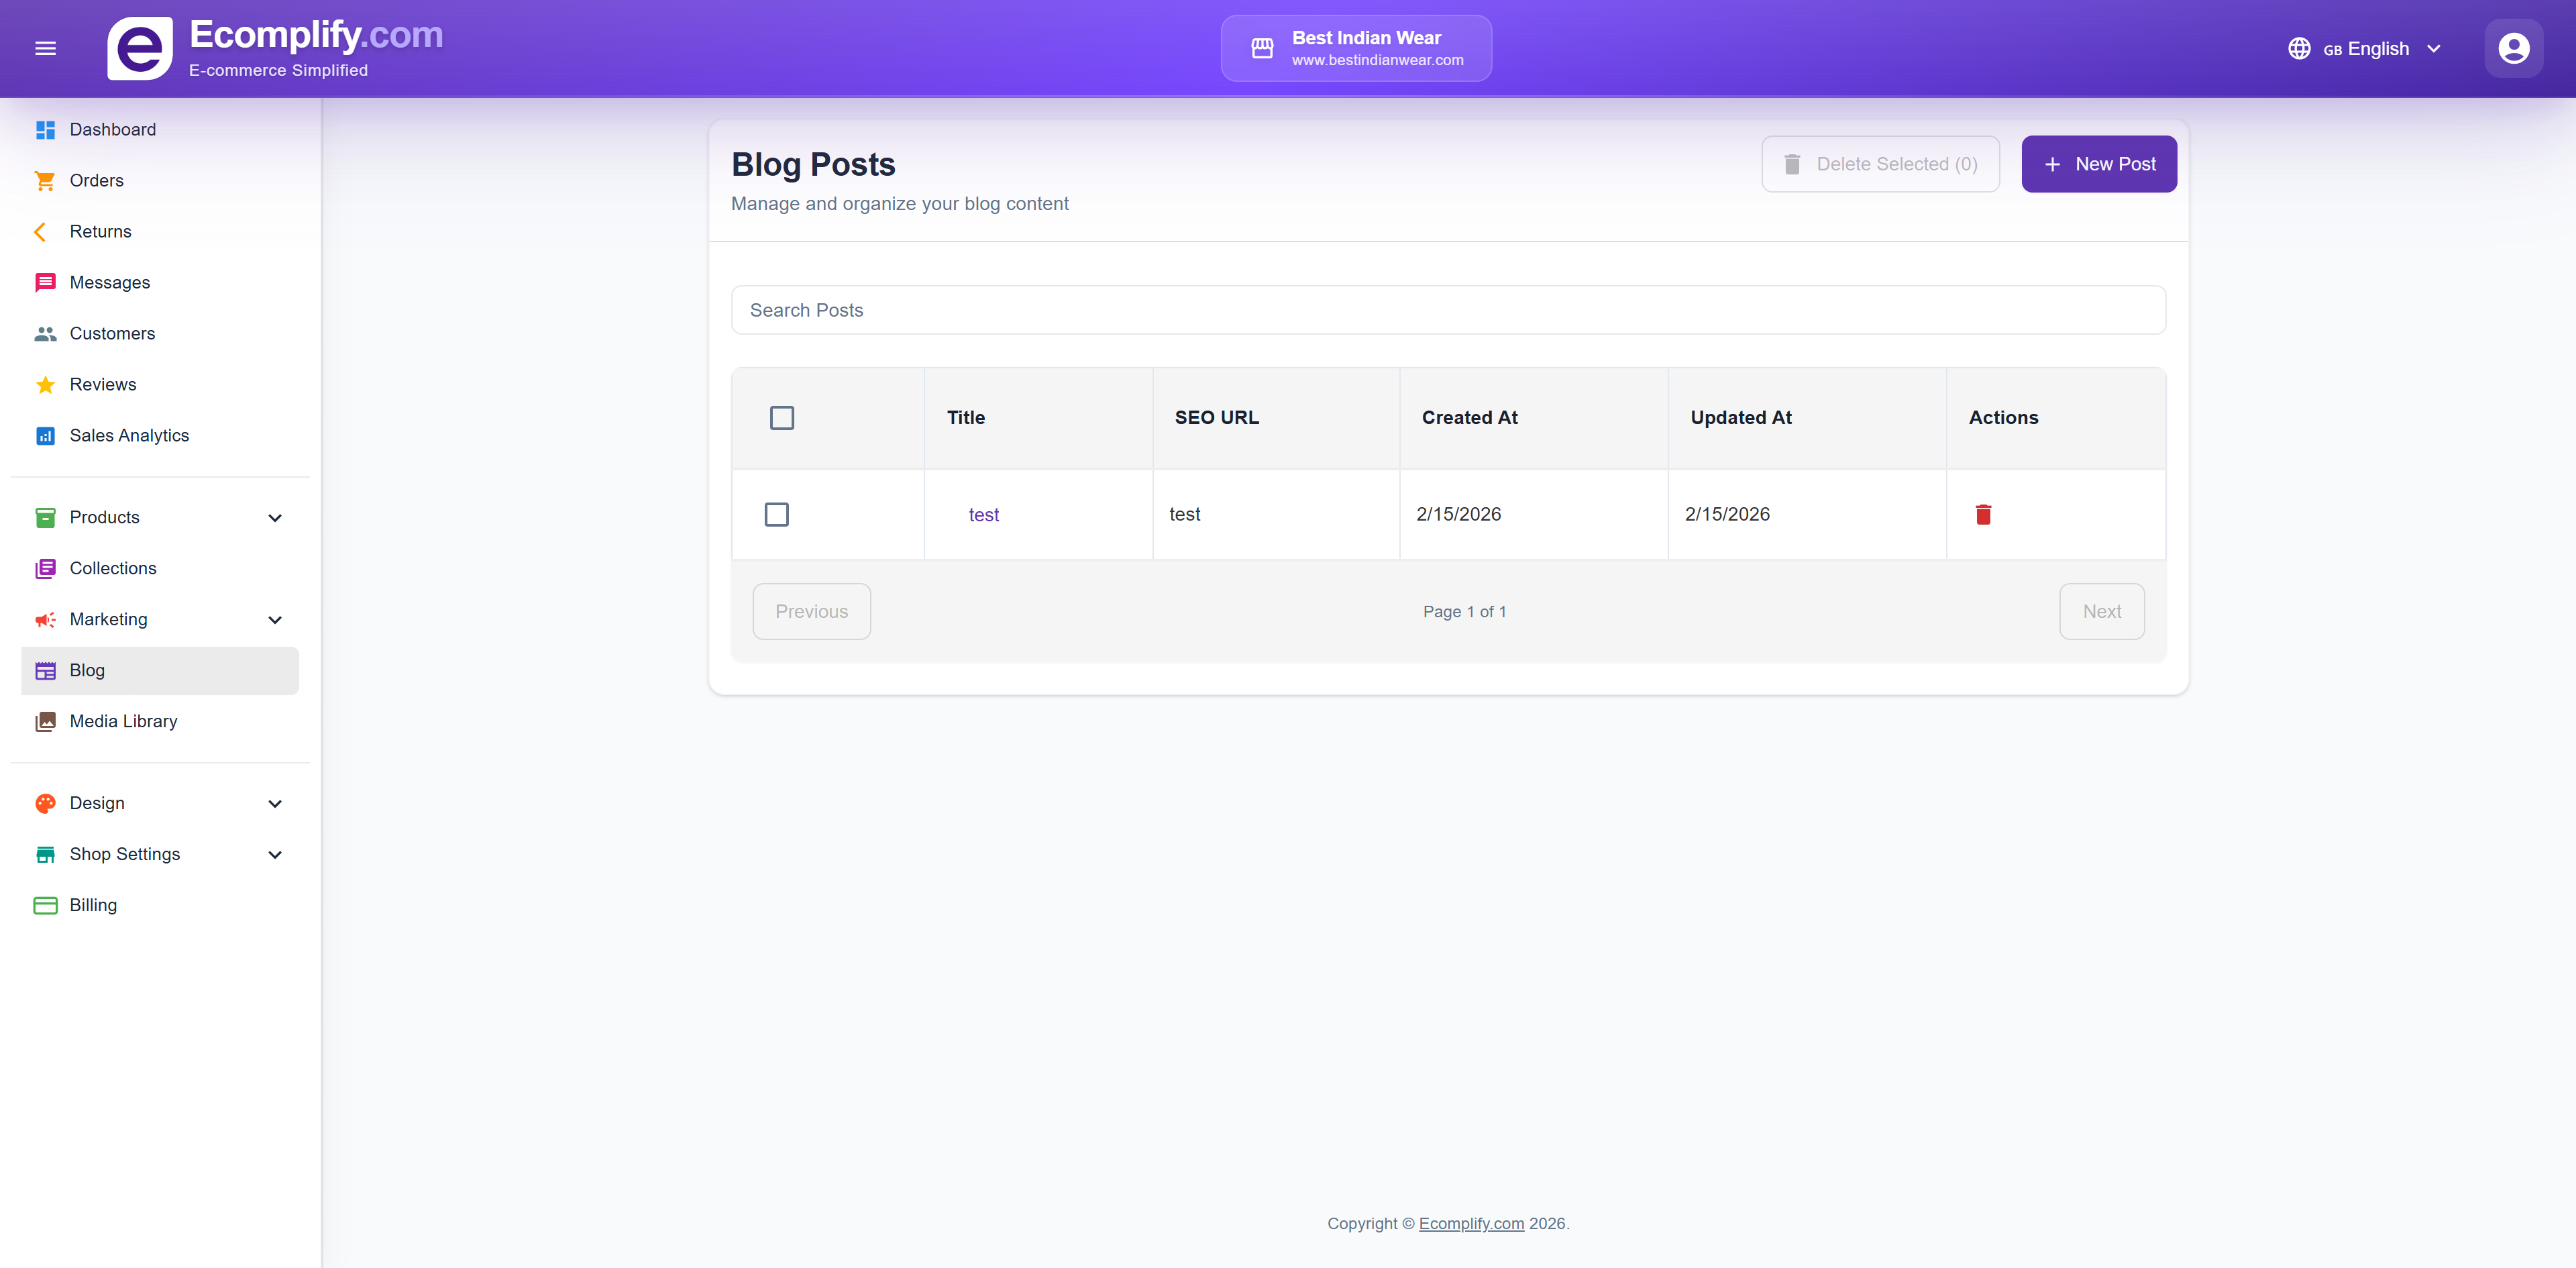
Each post has one of three statuses:
- Draft - The post is not published. Visitors cannot see it.
- Scheduled - The post is set to go live at a future date and time. It stays hidden from visitors until then. Hover over the Scheduled label to see exactly when it goes live.
- Published - The post is live on your storefront.
Creating & Editing Blog Posts
Create rich content to educate customers, improve SEO, and build your brand.
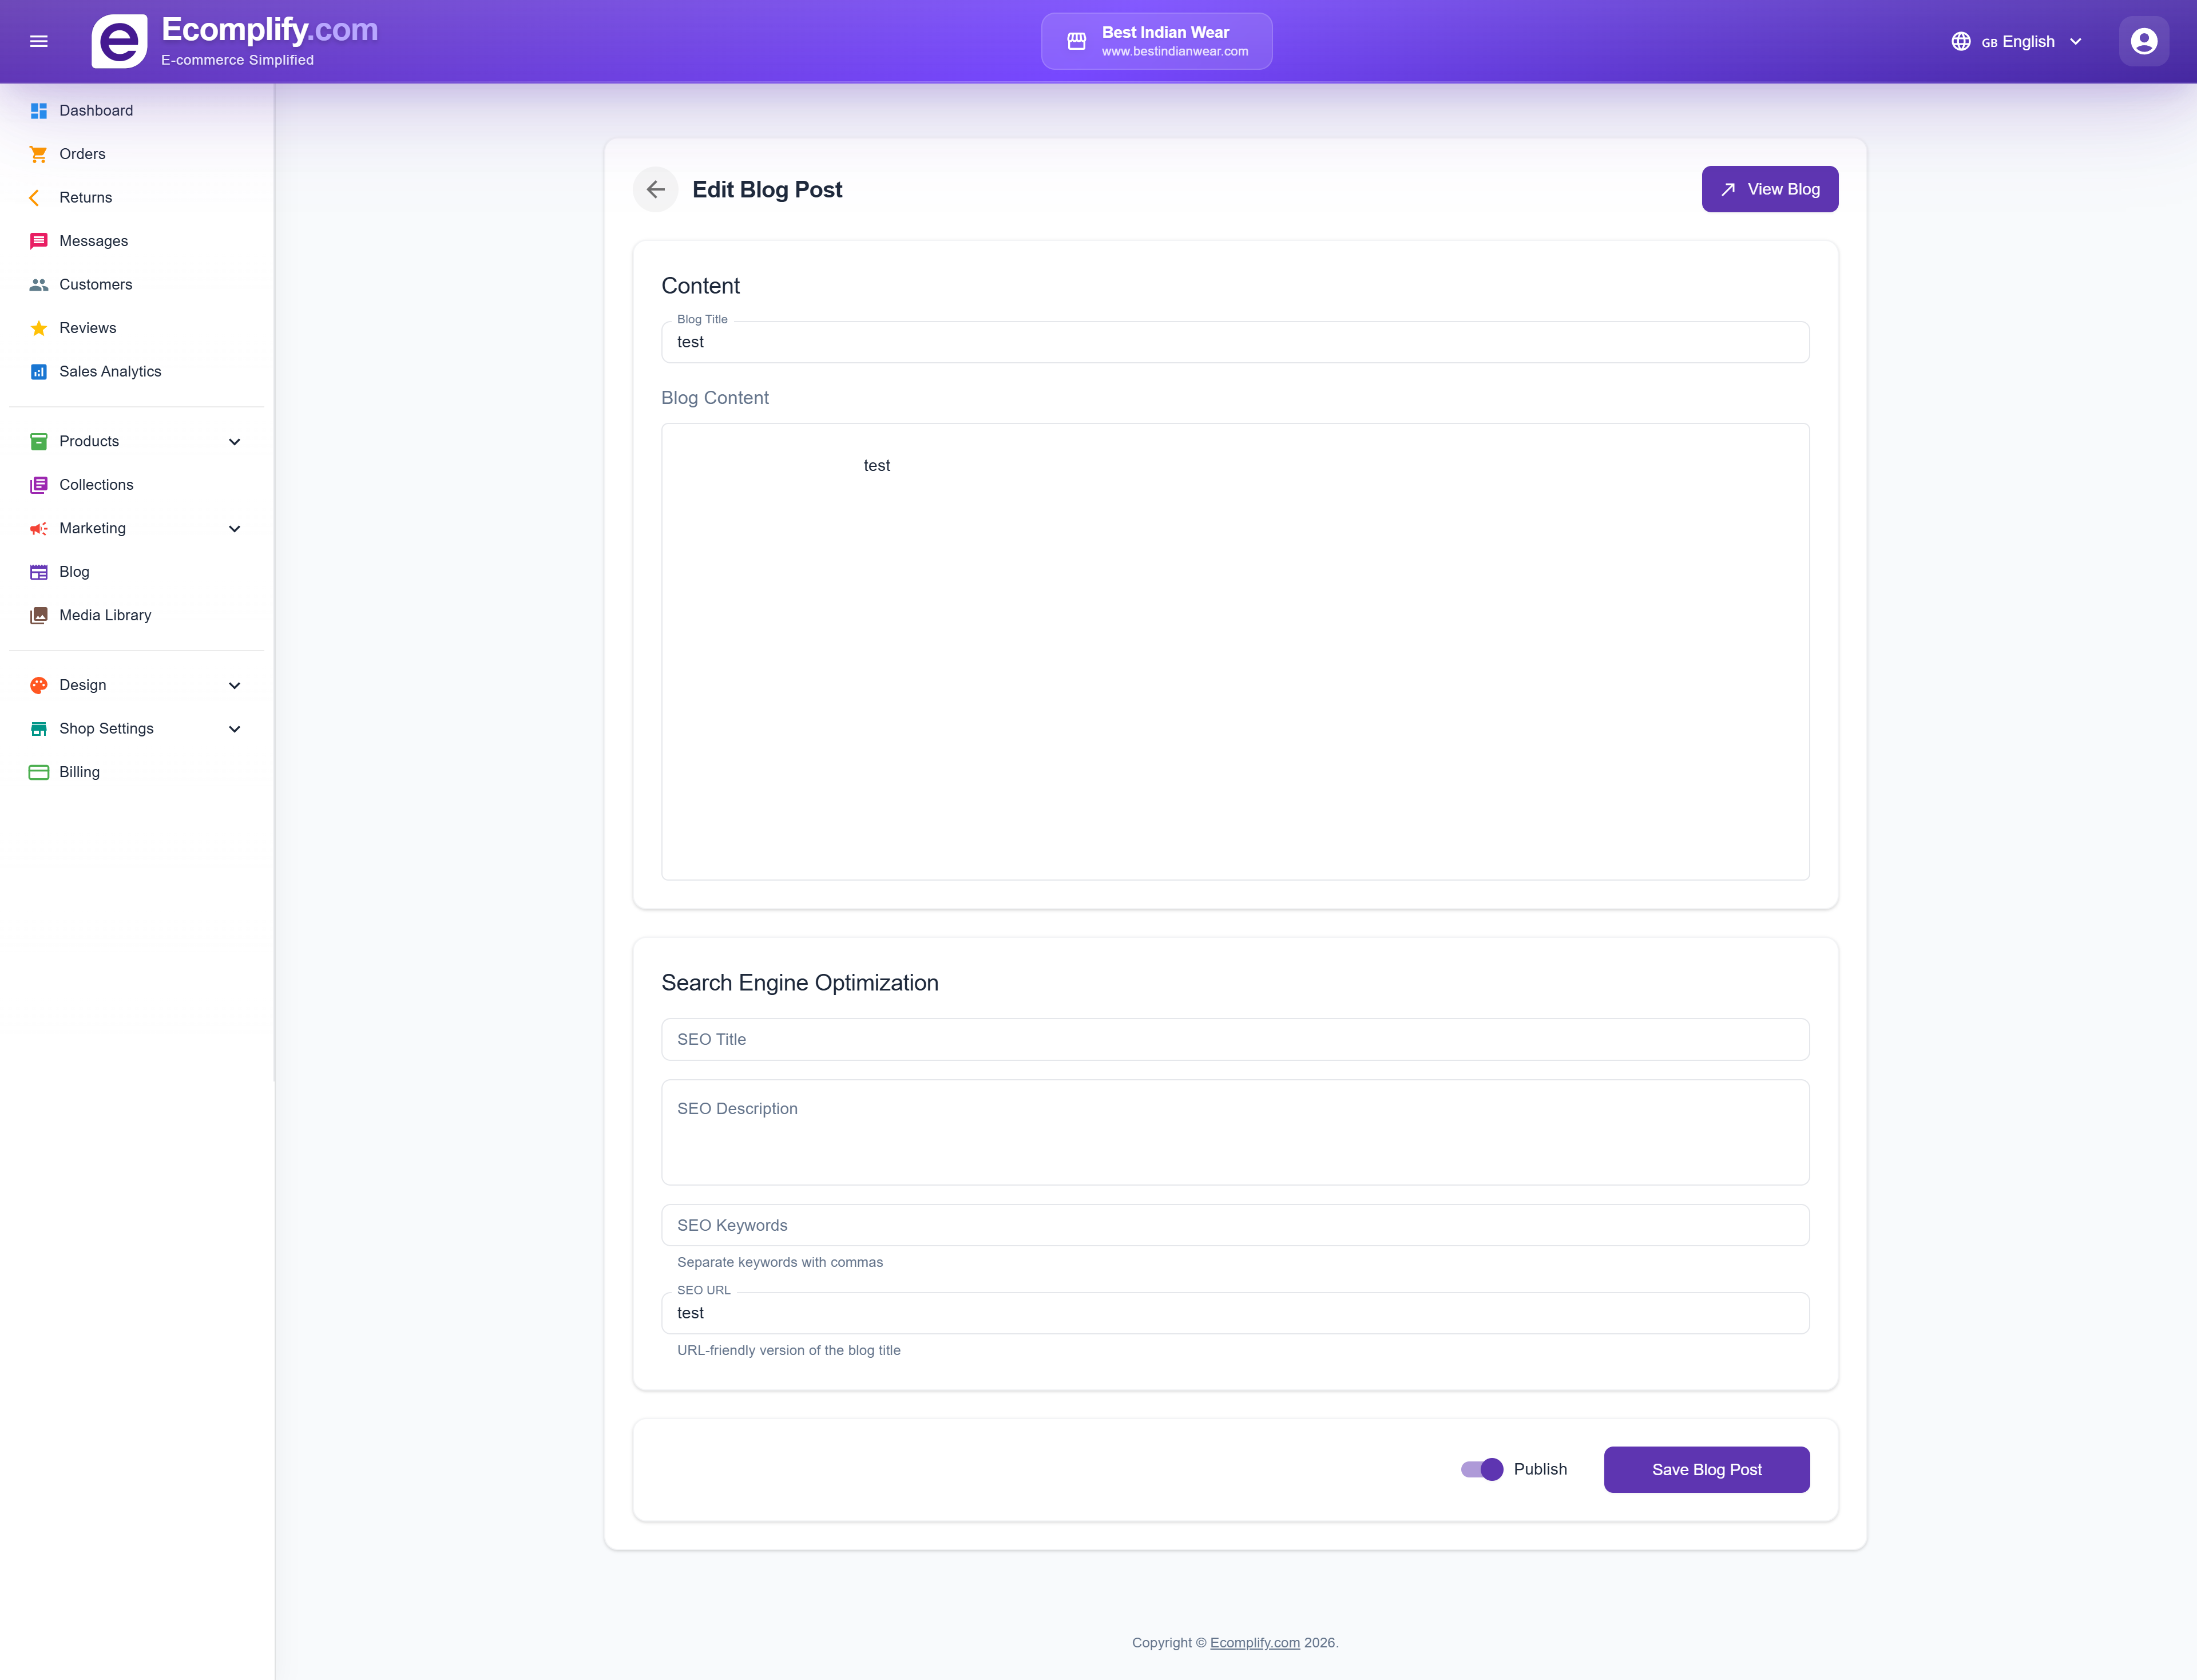
Content
- Blog Title - The headline for your blog post
- Blog Content - Rich text editor supporting formatted text, images, links, and more
Search Engine Optimization
Optimize each post for search engines:
- SEO Title - Custom title for search results (defaults to blog title)
- SEO Description - Meta description shown in search results
- SEO Keywords - Target keywords separated by commas
- SEO URL - Custom URL-friendly slug for the blog post
Publishing
- Publish Toggle - Switch between draft and published states
- Go live at - Optionally set a future date and time for the post to go live (see below)
- Save Blog Post - Save your changes
- View Blog - Preview the published blog post on the storefront
Blog posts appear on your storefront's blog section and are accessible via the main navigation menu.
Scheduling a Post
You can write a post now and have it go live automatically at a later date and time:
- Turn the Publish toggle on.
- In the Go live at field, pick the date and time you want the post to appear. Leave it empty to go live immediately.
- Click Save Blog Post.
The post shows as Scheduled in your blog list until its go-live time, then switches to Published automatically - you don't need to come back and do anything.
What visitors see: A scheduled post is completely hidden on your storefront until its go-live time. It does not appear in your blog list, and it cannot be opened by direct link. Once the time passes, the post appears automatically.
To reschedule a post, open it and change the Go live at time. To take it back to a draft, turn the Publish toggle off.
Share on Social When Published
You can have a post announced on your social media accounts at the same moment it goes live - whether that's immediately or at a scheduled time.
Before you start, connect your accounts under Marketing → Social Posts → Connections.
- In the blog editor, find the Share on social when published section.
- Select the platforms you want to announce on: Facebook, Instagram, X, Threads, or LinkedIn.
- Optionally write a Caption for the announcement. If you leave it empty, the post's title and a link to it are used.
- Save the blog post.
The announcement is scheduled for the same moment the post goes live. You can see and manage it on the Social Posts page, where you can also retry it if publishing to a platform fails.
Note for Instagram: Instagram requires an image. Add a thumbnail to your blog post, or the Instagram announcement will be skipped.
Media Library
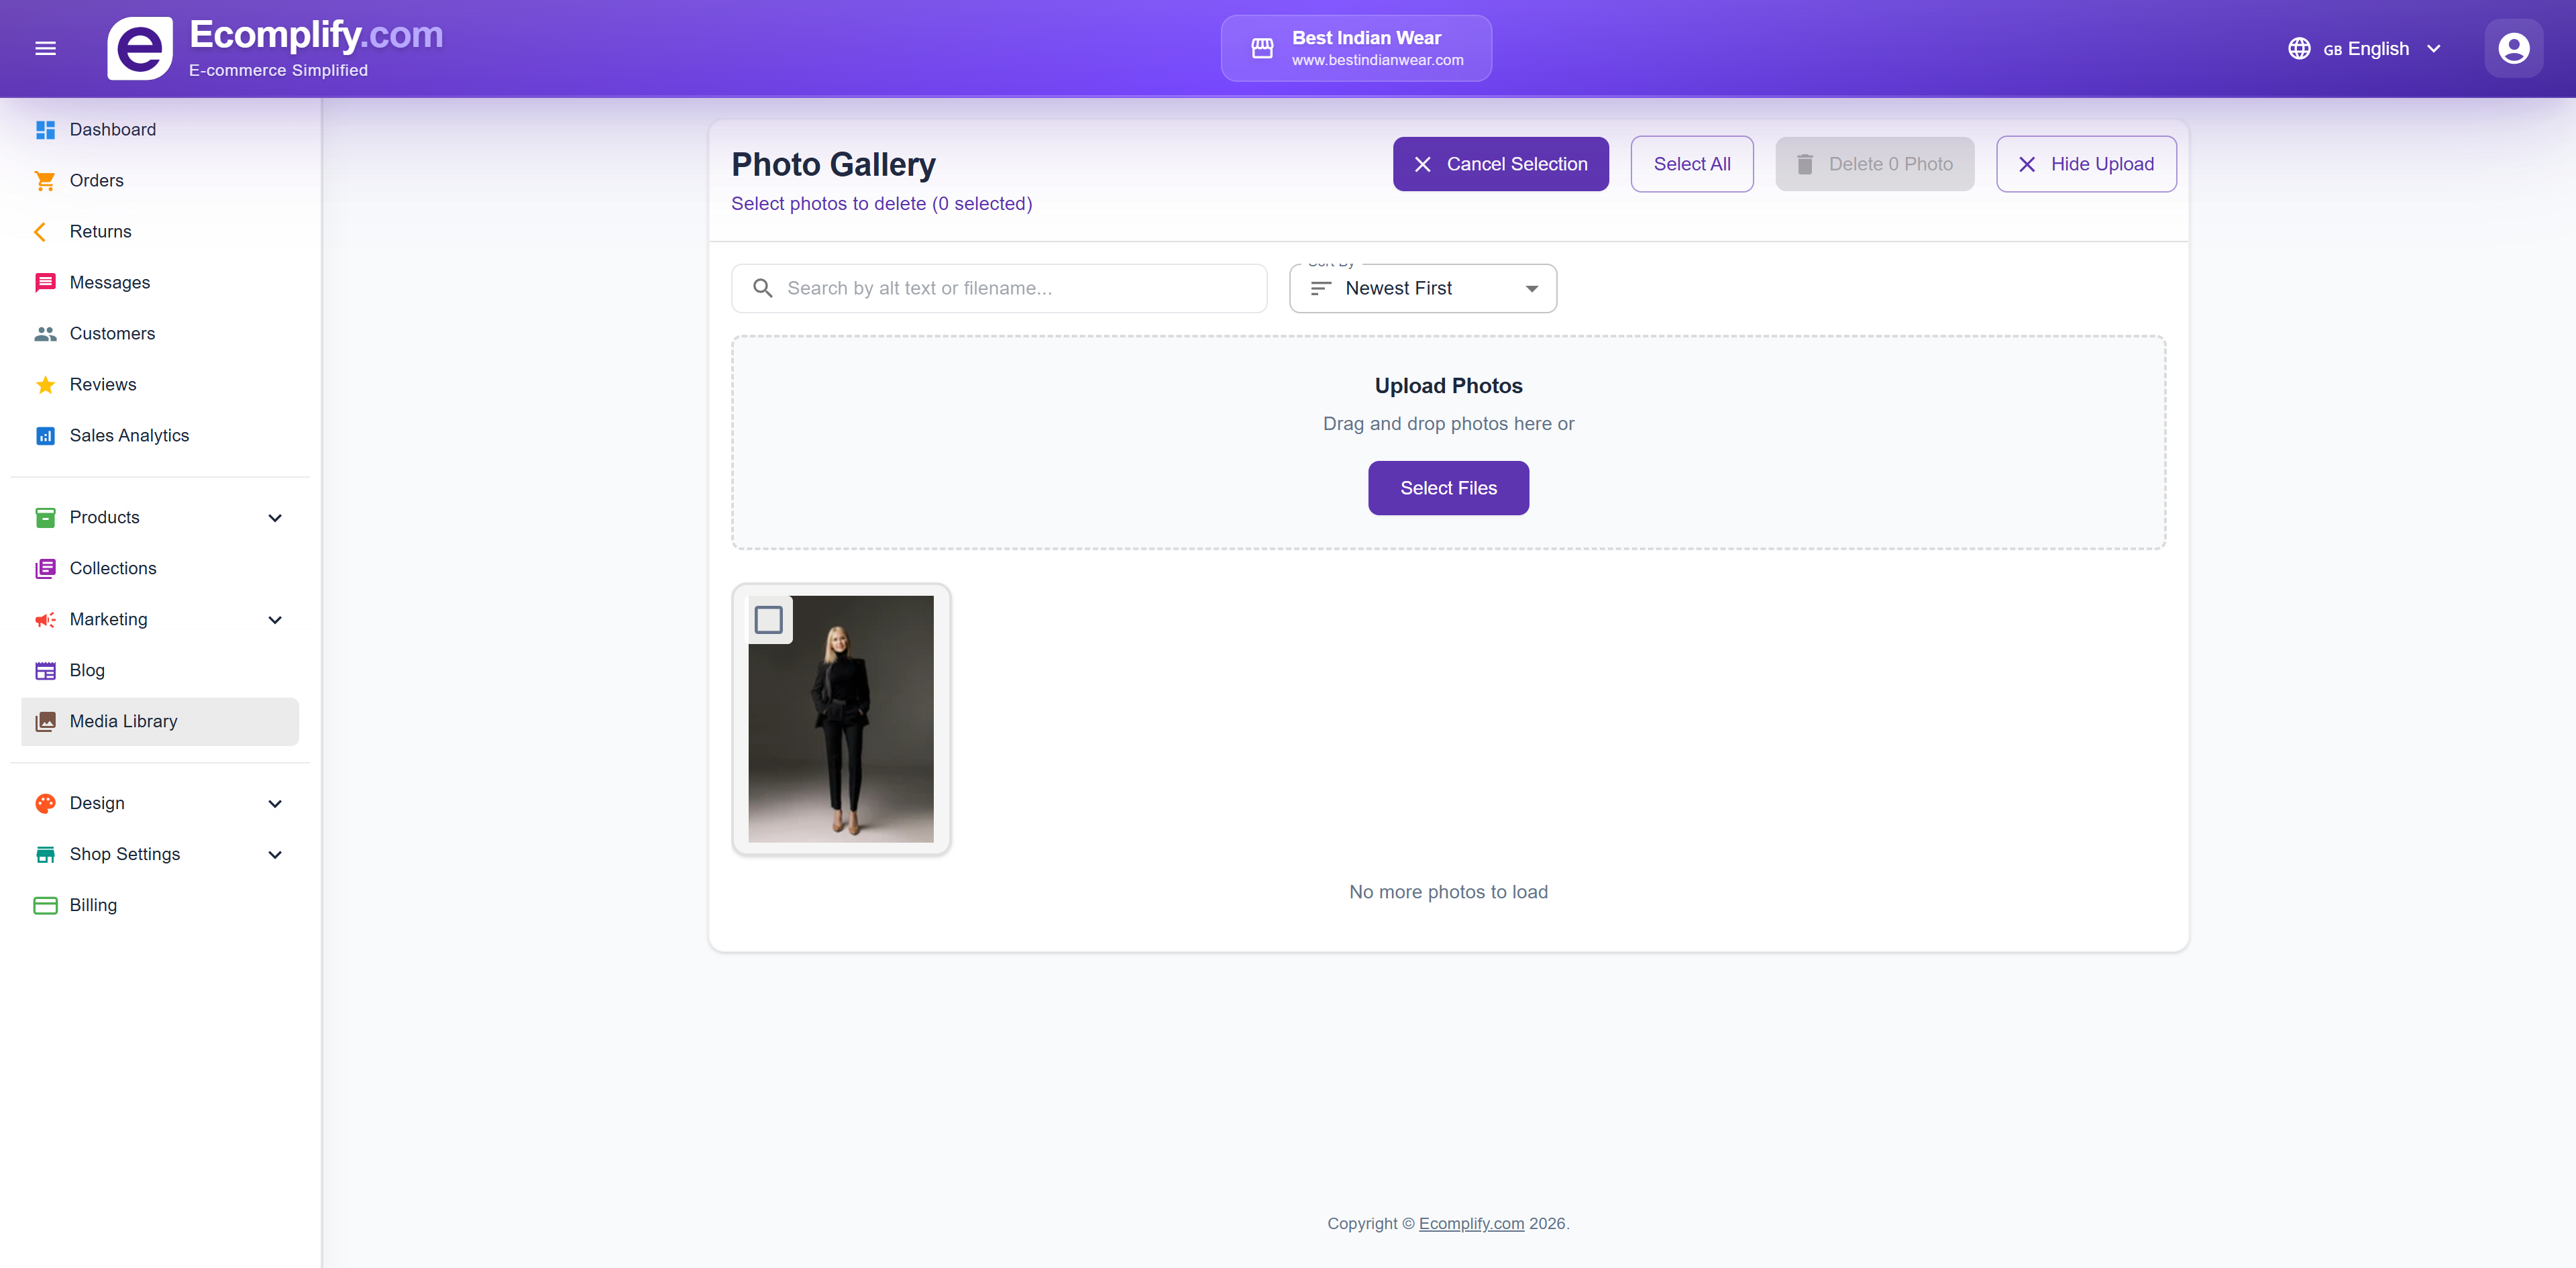
Manage all your images and media files from the Media Library.
Features
- Upload Media - Upload new images and files
- Select Multiple - Batch select for bulk operations
- Search - Search by alt text or filename
- Sort - Order by newest or oldest first
- Edit - Update image alt text for SEO
- Delete - Remove unwanted media files
Media uploaded here can be used across products, blog posts, collections, and other content areas.